In this example, we will see Redux Thunk Tutorial With Example From Scratch. Redux is a predictable container state management system. It’s a lightweight implementation of Flux, which is another library for managing the state. Redux allows us to put a middleware that sits between an action being dispatched and the action that reaching to the reducers. Two very popular middleware libraries that will allow for side effects and asynchronous activities are Redux Thunk and Redux Saga. Redux Thunk is the middleware that lets you call the action creators that return a function instead of the action object. That function then receives the store’s dispatch method, which is then used to dispatch the regular synchronous actions inside a body of the function once the asynchronous operations have completed. The thunk is a concept in programming where a function is used to delay the evaluation/calculation of an operation.
Redux Thunk Tutorial With Example From Scratch
Let us install React.js using the following command.
#1: Install React.js
npx create-react-app reactreduxthunk
#2: Install Redux, react-redux, and redux-thunk.
Go inside the folder and type the following command to install the axios, react-redux, redux, and redux-thunk library.
npm install axios redux react-redux redux-thunk --save

# or

yarn add axios redux react-redux redux-thunk
#3: Create the action.
Now, we will fetch the data from Github API, and for that, we need to use Axios: promise based library to send the network request to a Github API server and fetch the data.
Now, the network request is the best example of an Asynchronous call. The redux-thunk middleware is useful to fetch the data from an API.
Inside the src folder, create three more folders, and their names are following.
- actions
- reducers
- containers
Now, first inside the actions folder, create one file called types.js and write the following code inside it.
// types.js

export const FETCH_GITHUB_DATA = 'FETCH_GITHUB_DATA';
When the page loads, we initiate the FETCH_GITHUB_DATA action and fetch all the data from the server and save it inside the Redux store.
Now, that action returns the object that contains two properties.
- Action type
- Payload
As we know for our demo, we have two actions, so create one file inside src >> actions folder called index.js.
Add the following code inside the index.js.
// index.js

import { FETCH_GITHUB_DATA } from './types';
import axios from 'axios';

const apiUrl = 'https://api.github.com/users/KrunalLathiya';

export const fetchData = (data) => {
  return {
    type: FETCH_GITHUB_DATA,
    data
  }
};

export const fetchGithubData = () => {
  return (dispatch) => {
    return axios.get(apiUrl)
      .then(response => {
        dispatch(fetchData(response.data))
      })
      .catch(error => {
        throw(error);
      });
  };
};
So, here we have defined an action that calls the Github API and gets a response from the server. Remember, the reducer is a pure function, and we do not want any asynchronous call inside reducer, all the asynchronous actions are called here inside actions.
#4: Create the rootReducer and postReducer.
Now, inside the reducers folder, create one file called githubReducer.js.
Write the following code inside the githubReducer.js.
// githubReducer.js

import { FETCH_GITHUB_DATA } from '../actions/types';

export default function githubReducer(state = [], action) {
  switch (action.type) {
      case FETCH_GITHUB_DATA:
      return action.data;
    default:
      return state;
  }
}
This githubReducer.js file contains pure functions and does not relate to any backend service. Reducers must be pure functions.
So, if the action type is matched with the fired action, then it will modify the store and change the current state and give that mutated state.
Now, create an index.js file inside reducers folder. Write the following code inside it.
// index.js

import { combineReducers } from 'redux';
import data from './githubReducer';

export default combineReducers({
    data: data
});
#5: Configure the redux Store
Import the src >> reducers >> index.js reducer file inside src >> index.js file, which is already there. So, our final src >> index.js file looks like below.
// index.js

import React from 'react';
import ReactDOM from 'react-dom';
import { createStore, applyMiddleware } from 'redux';
import thunk from 'redux-thunk';
import { Provider } from 'react-redux';

import App from './App';
import rootReducer from './reducers';
import { fetchGithubData } from './actions/index';

const store = createStore(rootReducer, applyMiddleware(thunk));

store.dispatch(fetchGithubData());

ReactDOM.render(
    <Provider store={store}>
        <App />
    </Provider>, document.getElementById('root'));
Here, we have created the redux store. Also, imported the createStore, applyMiddleware, thunk.
Since we are dealing with Asynchronous data, we have to use the thunk to save the data inside the redux store, and then the redux store will update the state and update the React.js User Interface.
First, we have created the redux store and then apply redux-thunk middleware to the store. This middleware helps us to help with Async action inside the store.
After creating the store, we have dispatched the action that fetches all the data from the GitHub server and put it inside the Redux store. So, when our react app loads for the first time, we get the data.
#6: Display the data.
Now, inside the containers folder, create one container component called GithubData.jsf and write the following code.
// GithubData.js

import React from 'react';
import { connect } from 'react-redux';

function GithubData({ data }) {
  if(!data) {
    return (
      <div>
        No Data
      </div>
    )
  }
  return (
    <div>
      <div>
        Name: { data.name }
      </div>
      <br />
      <div>
        Blog: { data.blog }
      </div>
      <br />
      <div>
        Github Followers: { data.followers }
      </div>
    </div>
  );
}

const mapStateToProps = state => {
  return {
    data: state.data
  };
};

export default connect(
  mapStateToProps,
  null
)(GithubData);
So, here we have mapped the state data to properties of this component.
Save this file and go to the terminal and start the react dev server.
npm start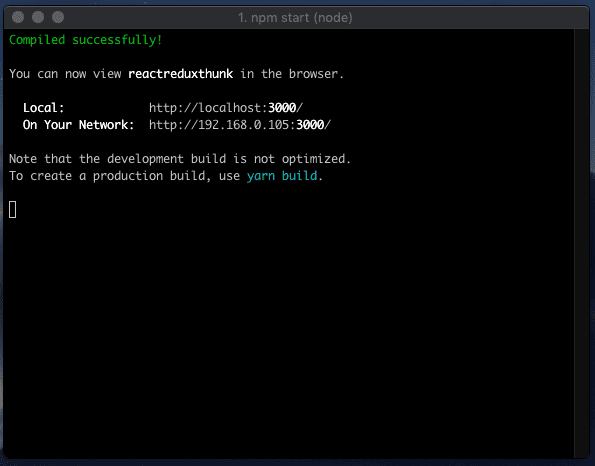
Head over to the browser and see the following output.
Finally, Redux Thunk Tutorial With Example From Scratch is over.


0 comments:
Post a Comment
Note: only a member of this blog may post a comment.