In this blog, we will see how we create a new PowerApps (Canvas App) and create new records in Dynamic CRM entity.
In this we will take Account entity, you may choose, any other entity in your dynamic CRM these steps work the same.
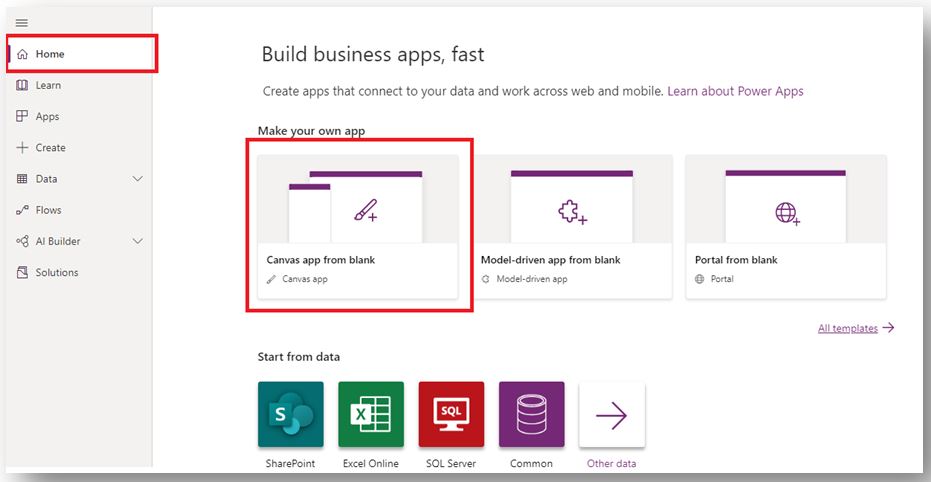
Firstly, we create a new Power Apps by visiting (https://make.powerapps.com).
Steps to create a PowerApps are as follow:
- Home, then click on Canvas app form blank→Give a name to your App and Select App’s format type (Tablet / Phone) →Click on Create
![]()
Or
- Go to Apps→New app→Select Canvas App→(Open new window) In Select with blank canvas App(Tablet/Phone)


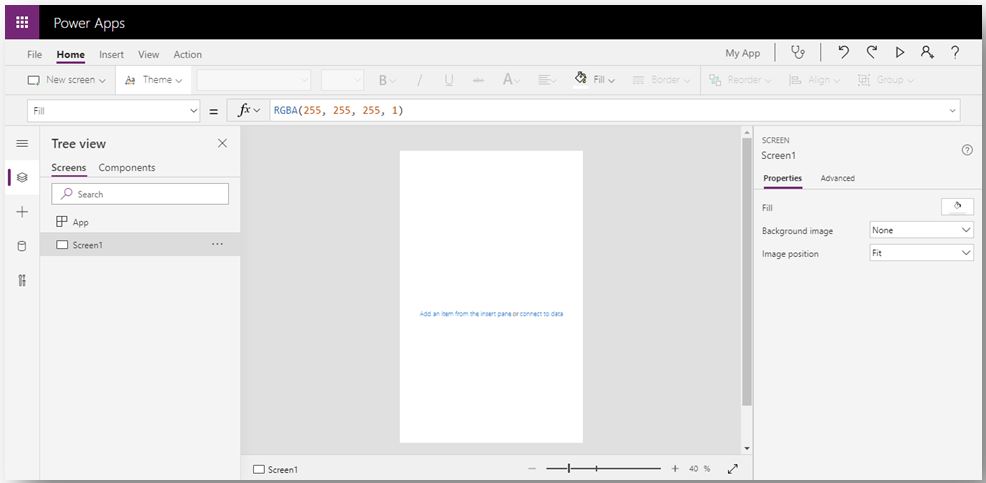
After performing all the above steps, you get a Power Apps studio which will look like the image below.Here you can create your pixel perfect application using drag and drop and some basic formulas.
Now we will have a look at the steps to connecting our application to Dynamic CRM entities:
In order to connect your application to dynamic CRM you can follow these two ways.
- Using the Edit Form and SubmitForm() method
- Using Patch () method
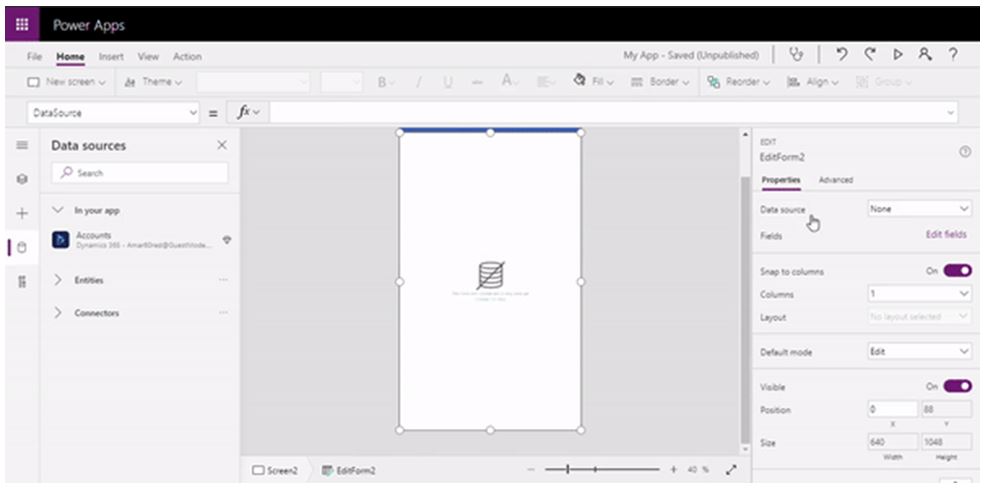
Before that we must connect to dynamic CRM by going Data source→(search dynamics CRM) → Select DynamicsCRM → Choose a table/entity.

Using the Edit form method.
Step 1: Select form as new Screen to form screen or from Insert → drag Edit from, as shown in the GIF below.
GIF1

Or
GIF-2

Step 2: Add all the necessary fields into the edit form
GIF-3
Step 3: If you can’t see the record field on preview, then select the edit form →Item →Defaults (<Entity Name>). Then it will show on

Step 4: Add information and Save.
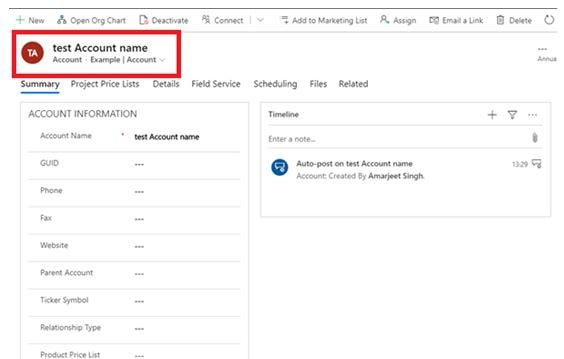
 The record can now be seen in the CRM as you can see in image below.

Using Patch method:
This method is used when we wanted to create a custom design field and map those fields to the required entity field. If you wanted to add data to the specific field with your custom-designed field in the app then you can use Patch() method in your application.
For more details, on Patch method you can visit the link (docs.microsoft.com/en-us/powerapps/maker/canvas-apps/functions/function-patch)
In this Demo I update data on the Account name field of the account,using this method we can select as many fields we want.
Step 1: Create a form using out-of-box components, such as Text label, TextInput,etc.

Step 2: Add a save button to your form that save the record into the Account entity.We add a patch method on OnSelect of Save button the code snippet is down below.
Patch(Accounts, Defaults(Accounts), {name: TextInput1.Text}, {} )

GIF-4

Step 3: check into your CRM, is the record is created or not.
As you see in Step 2 GIF, we map Account Name filed i.e.; only on that field having data.
Conclusion
I hope this article has helped you to create a (Canvas) PowerApps and records in Dynamic CRM entity. Below I have mention a few more blogs that can help you correct different errors and queries encountered with Dynamics 365 and Power Apps.


0 comments:
Post a Comment
Note: only a member of this blog may post a comment.