Selenium is a portable software testing suite for web applications. Primarily, it is for automating web applications for testing purpose, but it certainly not limited to just that. Selenium is open source. Selenium is highly flexible. There are many ways you can add functionality to both Selenium test scripts and Selenium’s framework to customize your test automation i.e. We can modify the built-in selenium functions based on our requirement. This is perhaps Selenium’s greatest strength when compared with other automation tools. Selenium is a set of different software tools each with a different approach to supporting test automation. It has 4 components.
Selenium Integrated Development Environment (IDE).
Selenium Remote Control (RC).
Selenium WebDriver.
Selenium Grid.
Selenium Scripts can be written in any programming languages like C#, Groovy, Java, Perl, PHP, Python, Ruby, JavaScript.Selenium Scripts can run on any browser like Mozilla Firefox, Internet Explorer, Google Chrome, Microsoft Edge, Safari or Opera.Selenium Scripts can run on OS like Windows, Mac, Android or Linux.
What is C#
C# is a general Object-Oriented Programming (OOP) language for networking and Web development. C# is specified as a Common Language Infrastructure (CLI) language. C# is highly expressive, yet it is also simple and easy to learn.C# syntax simplifies many complexities of C++.For more detailed information of C# please refer following links
Differences between Selenium with C# and Selenium with Java?
There is no Major differences between Selenium with Java and Selenium with C#.
Selenium with Java
Selenium with C#
In Selenium with Java we have WebDriver to create web browser instance.
In Selenium with C# we have IWebDriver to create web browser instance.
In Selenium with Java we use WebElement to find out web elements in the application.
In Selenium with C# we use IWebElement to find out web elements in the application.
In Selenium with Java we use @FindBy annotation is used in Page Objects in Selenium tests to specify the object location strategy for a WebElement or a list of WebElements.
In Selenium with C# we use [FindBy] annotation is used in Page Objects in Selenium tests to specify the object location strategy for a WebElement or a list of WebElements.
IDE used for C#
C# development can be done using many IDEs like Visual Studio, MonoDevelop, #develop, Rider and Many more.In this tutorial we will develop C# in Visual Studio.
How to Install Visual Studio in windows?
Let’s download and install visual studio in following steps.Step 1: Download the latest Visual Studio from the following link https://www.visualstudio.com/downloads/.Its preferable to download Visual Studio Community 2017 or Visual Studio Professional 2017 (30days free trail).Step 2: Once its downloaded, click on the executable(.exe) file.Step 3: Next, click on continue.Step 4: Visual Studio will start downloading the initial files.Step 5: In next screen, click on install.Step 6: In next screen select .NET desktop development and click on install.Step 7: Visual Studio will download .NET desktop development related files.Step 8: Once download is completed. It will ask for Reboot.Step 9: After Reboot Open Visual Studio. It will ask for sign in or sign up. If you Microsoft account sign in else click on Not now, may be later link.Step 10: In next screen, Select General from dropbox and select the color theme of your choice and click on Start Visual Studio button.Step 11: Visual Studio is ready to use. You can now create C# Project by clicking on new Project and by giving name to it.
Install Selenium Webdriver With C#
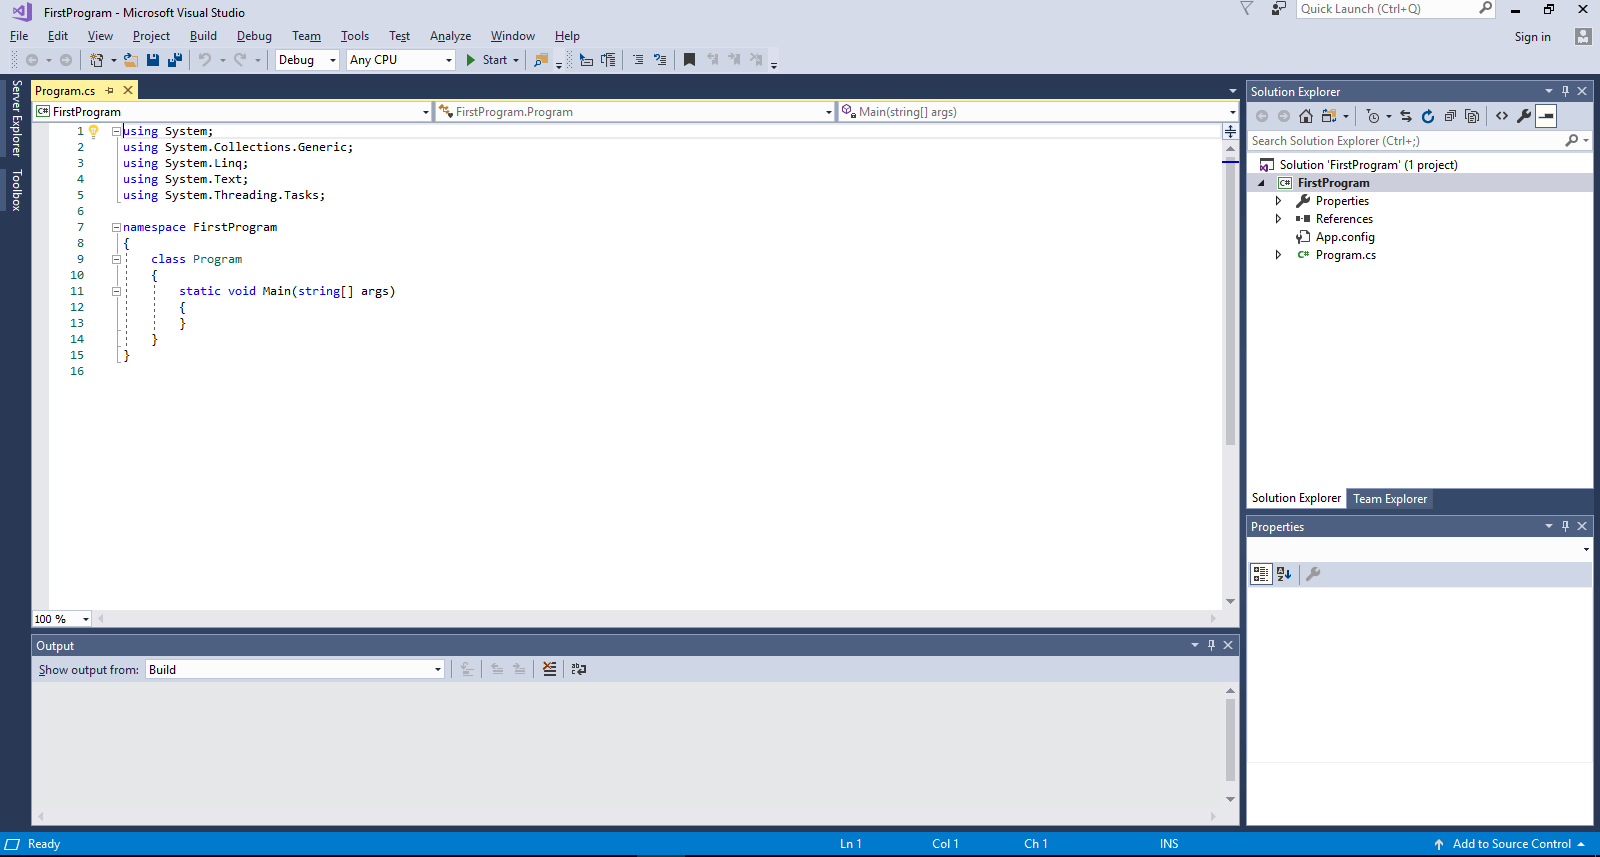
Let’s see how to write “Hello World!!” Program in C#.Step 1: Launch Visual Studio. Start->Visual Studio ->click. It will launch Visual Studio.Step 2: Click on File-> New -> Project.Step 3: Next screen1.Give project name.2.Select the folder where you want project to be saved.3.Click on OK button.Project will be created with name HelloWorld.Step 4: After creation of project screen looks like below Keywords:
using – using keyword is used to include namespace in the program.
namespace – namespace is a collection of classes. HelloWorld namespace contains the class Program.
class – class contains different data and method definitions.
Main – Main method is an entry point for C# programs. Execution starts from Main method.
Step 5: Add Console.WriteLine(“Hello World!!”) to the above project.Console.WriteLine() is used to print message in console. Save the program and press F5 to execute the program. A command prompt window will appear that contains the line Hello Word!!The execution of the program will be too fast. To see console output Debug-> Start Without Debugging or Ctrl+F5.Output Screen will be like below.
How to Install Selenium to Visual Studio?
There are two ways of installing Selenium to Visual Studio.
Let’s see installation of selenium with Visual studio by downloading via NuGet Package Manager with an example. Create C# project by using steps mentioned in Section 7.Step 1: Create a new project called FirstProgram using above mentioned steps.Step 2: Navigate to Tools-> NuGet Package Manager-> Manager NuGet Packages for Solution…Step 3: In next screen
Select Browse tab.
Enter Selenium in search field.
Selenium latest Selenium.WebDriver available.
Select the project created in step 1(i.e FirstProgram)
Click on Install.
Step 4: In next screen click on OK button.Step 5: Once WebDriver is installed. We should get following message.Step 6: Once WebDriver is installed let’s install ChromeDriver. Tools-> NuGet Package Manager-> Manager NuGet Packages for Solution…
Enter ChromeDriver in search field.
Select the ChromeDriver.
Select the project created.
Click on Install.
In Next screen click on OK button.Once ChromeDriver is installed. We will get the following message.Step 7: Selenium is installed to FirstProgram. Now let’s write code to perform goggle search.Code Explanation.
Navigate to Start button on the top and click on it. It will launch console 1st and after few seconds it will launch ChromeDriver and will perform action mentioned in the code.We will get output as shown below.
 Its preferable to download Visual Studio Community 2017 or Visual Studio Professional 2017 (30days free trail). Step 2: Once its downloaded, click on the executable(.exe) file.
 Step 3: Next, click on continue.
 Step 4: Visual Studio will start downloading the initial files.
 Step 5: In next screen, click on install.
 Step 6: In next screen select .NET desktop development and click on install.
  Step 7: Visual Studio will download .NET desktop development related files.
 Step 8: Once download is completed. It will ask for Reboot.
 Step 9: After Reboot Open Visual Studio . It will ask for sign in or sign up. If you Microsoft account sign in else click on Not now, may be later link.
 Step 10: In next screen, Select General from dropbox and select the color theme of your choice and click on Start Visual Studio button.
 Step 11: Visual Studio is ready to use. You can now create C# Project by clicking on new Project and by giving name to it.
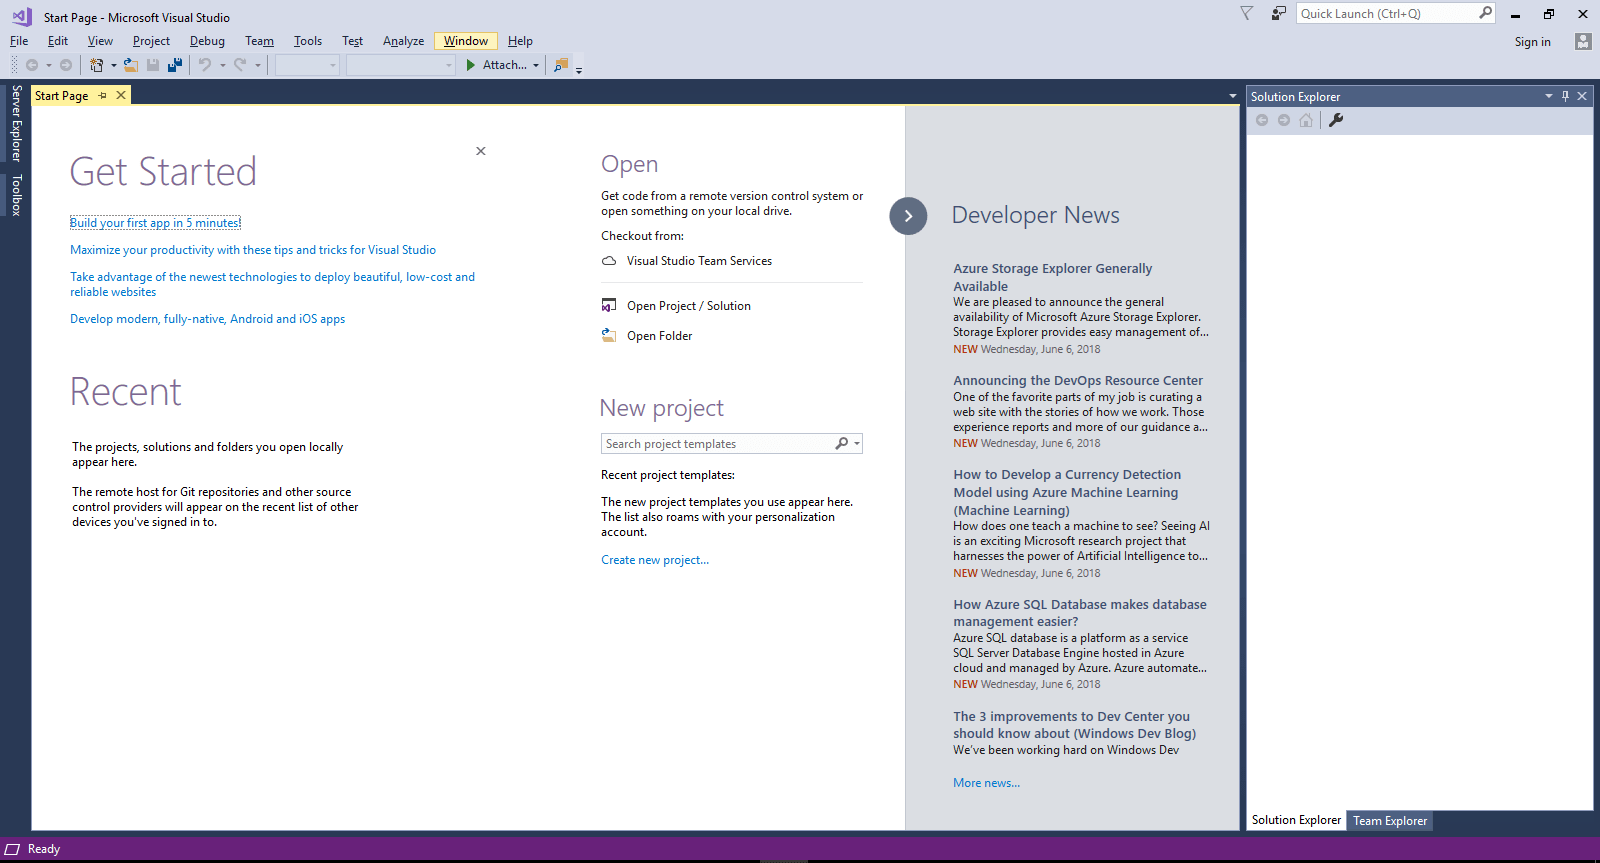
 Step 3: Next screen
 1.Give project name. 2.Select the folder where you want project to be saved. 3.Click on OK button. Project will be created with name HelloWorld. Step 4: After creation of project screen looks like below
  Keywords:
 Console.WriteLine() is used to print message in console. Save the program and press F5 to execute the program. A command prompt window will appear that contains the line Hello Word!!The execution of the program will be too fast. To see console output Debug-> Start Without Debugging or Ctrl+F5. Output Screen will be like below.
 Step 2: Navigate to Tools-> NuGet Package Manager-> Manager NuGet Packages for Solution…
 Step 3: In next screen
 Step 5: Once WebDriver is installed. We should get following message.
 Step 6: Once WebDriver is installed let’s install ChromeDriver. Tools-> NuGet Package Manager-> Manager NuGet Packages for Solution…
 In Next screen click on OK button.
 Once ChromeDriver is installed. We will get the following message.
 Step 7: Selenium is installed to FirstProgram. Now let’s write code to perform goggle search.Code Explanation.
 Navigate to Start button on the top and click on it. It will launch console 1st and after few seconds it will launch ChromeDriver and will perform action mentioned in the code.
 We will get output as shown below.


0 comments:
Post a Comment
Note: only a member of this blog may post a comment.